Christmas birds

December 21st

Scrap yarn bird
As a child, we had a few homemade decorations on the Christmas tree, one being a bird made out of
yarn, that mamma had made when she was a child.  She said they had several on their tree and it, along with an angel she made as a little girl, were precious decorations.  Over the years, the bird has disappeared and I was only reminded of it this year when an online tutorial was brought to my attention.  Link to it is at the bottom of this post.  I knew having seen the tutorial that I needed to make a Christmas robin and bring back some of my childhood memories.

These are great quick projects to make in company with adults or children and if I had more time, I know I would have made lots for the tree this year. Got a spare half an hour, then you too could make one of these...

Full tutorial on the link at the end, here are just my photos to give you an idea how to make a scrap yarn bird.


Cut out two pieces of card

Wrap yarn around until you have at least 1cm width of yarn in each colour

Cut just one end, hold tight, so the yarn
does not fall all over the place


Tie each one in the centre

Place the 12cm yarn on top of the 10cm breast coloured yarn

Fold each on half

Take a small new piece of matching yarn for each colour

Tie each as close to the centre as possible

Lay the final colour on top


Scrunch up half an A4 sheet,
his will be the bulk of the bird's body.

Bring together all the loose ends of each
colour section to cover the scrunched paper

Tie tightly  and trim the ends neatly

Make a beak out card

Add some black beads for eyes

Enjoy your bird

As our tree is not yet up, I have added
the robin to the centre of the door wreath

Lovely homemade addition to the wreath

I am sure if we were to make lots of these each one would look different and have their own characters.  Maybe I may suggest to the troops over Christmas that we each make one to put on the tree and give them their own names too!


 For the full tutorial:  Birds


  Hope you have a productive weekend 


Christmas Stars

December 20th
Red spells Christmas to me
but then I am traditional. 
These yarn stars would look
fabulous in any colour


I'm a sucker for a quick make and result and especially if I have the material already in the house. And I'm a sucker too for online video tutorials both for inspiration and ideas and quick self-teaching techniques.  Have you ever learnt from watching a youtube video?  It is true you often have to sift through several truly badly filmed and complicated rubbish to land on 'the one' that will help you but I still find it a worthwhile exercise.  And this is how I landed upon today's Christmas make.  These stars would make excellent crafting sessions with children and I plan on roping in both the small ones and the teenagers over the Christmas holidays to make an entire constellation. 


The link at the bottom of this post  includes a free template
or this star, I transferred it onto the back of an old do not bend envelope

The video shows you how to attach beads to the points
but as I only had pom pom ribbon, I used that instead


Tape the beginning of your yarn onto the centre of the star


Begin winding the yarn around the base of two of the points of the star


Once you have wound up to where the two points separate
move across to the next two, do not cut the yarn just continue winding


Continue winding each section, on the back, there will be a bit of
crisscrossing and not quite so nat at this stage, but that can be sorted at the end

When all base star point s are covered in yarn, I began to wind up
the star point to the tip and then back down again towards the body
of the star, thus creating a very padded a full star.


As you near the end of covering the entire star in yarn, try to be a bit
more careful with the back of it and wind it so that both sides
look as neat as possible.  Hang up and admire!


It's beginning to look a lot like Christmas is just around the corner in our home

Video tutorial and star template can be found here:   Christmas Stars


  Have you made any decorations for Christmas? 

Spelt Crisp bread

December 19th

Spelt Crispbread
In Scandinavia, crispbread is hugely popular at breakfast time or elevenses and even on cross country ski trips as a 'niste' (picnic/packed lunch).  The Danes were very good at importing this as their tradition but you find it all over Scandinavia.  It is wonderfully healthy, very tasty and does make for a great alternative breakfast or when visitors pop by (it keeps for about a week if kept in an airtight box), just throw on some savoury toppings.  Here is my version, hope you like it!


Spelt Crispbread

Melt the butter before adding
ingredients
for the spelt crispbread
You will need:

100g butter
75g rolled oats
75g rye flakes or Special K
25g sesame seeds
1/2 tbsp honey
150g stoneground spelt flour
1/2 tsp salt
1 tsp baking powder
100ml (or thereabouts, plus or minus a few ml) of boiling water


Topping:
Dough before flattening into
the spelt flour crispbread
1 tbsp linseed
1tbsp sesame seeds


  Melt the butter slowly.

  Remove from heat and add in the oats, flakes, sesame seeds and honey.  Mix well.

  Stir in the flour, salt and baking powder and add in the boiling water.  The consistency should just hold together, do not make it too sticky, so add the water a little at a time.  Make sure everything is well-mixed together.
Spelt flour crispbread after flattening

♥  Turn out the dough onto a lined baking sheet.

  Initially, using hands wet with cold water spread the dough as thinly as possible on the baking tray.

  If the spread is not thin enough, I tend to wet a wooden rolling pin with cold water and roll the mixture to ensure it is a bit thinner.  Be careful as the mixture if you re-roll without water will stick to the rolling pin!

  Bake in a cool oven of 150 Degrees Celcius for 30-35 minutes or until it has changed to a slight golden brown colour.

Cut bite-size pieces once the
spelt flour crispbread has cooled
  Cool on the baking tray as moving it at this stage will definitely result in crumbles everywhere.

  Once cooled, using a sharp knife, cut out strips the size of the crispbread you desire.  I like to cut
them into large bite sizes.  I also like to incorporate the rough edges to make it look more homemade.


Spelt flour crispbread ready for their toppings,
what would you choose to add?

A great elevenses snack spelt flour crispbread


Elevenses: Spelt flour crispbread with savoury toppings followed by some of the Norwegian Christmas bakes.


    Hope you have time to enjoy yourself and not be too busy to slow down and take some 'me' time out of your day 


A little bit of giving

December 18th

Sustainable wrapping
Every year since the children were born I have said to myself, next year I will make more of an effort with gift wrapping.  Years ago, I used to pride myself on beautifully wrapped presents and over the past two decades how on earth has the time passed by like that? my wrapping has become quick, last-minute and somewhat slapdash.  Albeit, often the present inside was homemade and made with love and care, the outer packaging left much to be desired.

This year, with both children living away from home term time, I thought surely I would have the time and energy to create the most beautiful gift wrapped presetns...er...no, but I have made more of an effort.   The below ideas are relatively quick, cheap and fun to make than really looking amazing.  What they do is show that I have given my wrapping some time and thought.  Next year, I will get better. Have you noticed a recurring theme here?

Gathering wrapping resources and presents to wrap
A week or so ago, I emptied the fruit bowl of oranges, lemons and limes that were not in their prime and decided to dry them in the oven.   To see how to dry citrus fruit, follow the link to my Advent Wreath as I made my Advent Wreath with the oranges this year too.

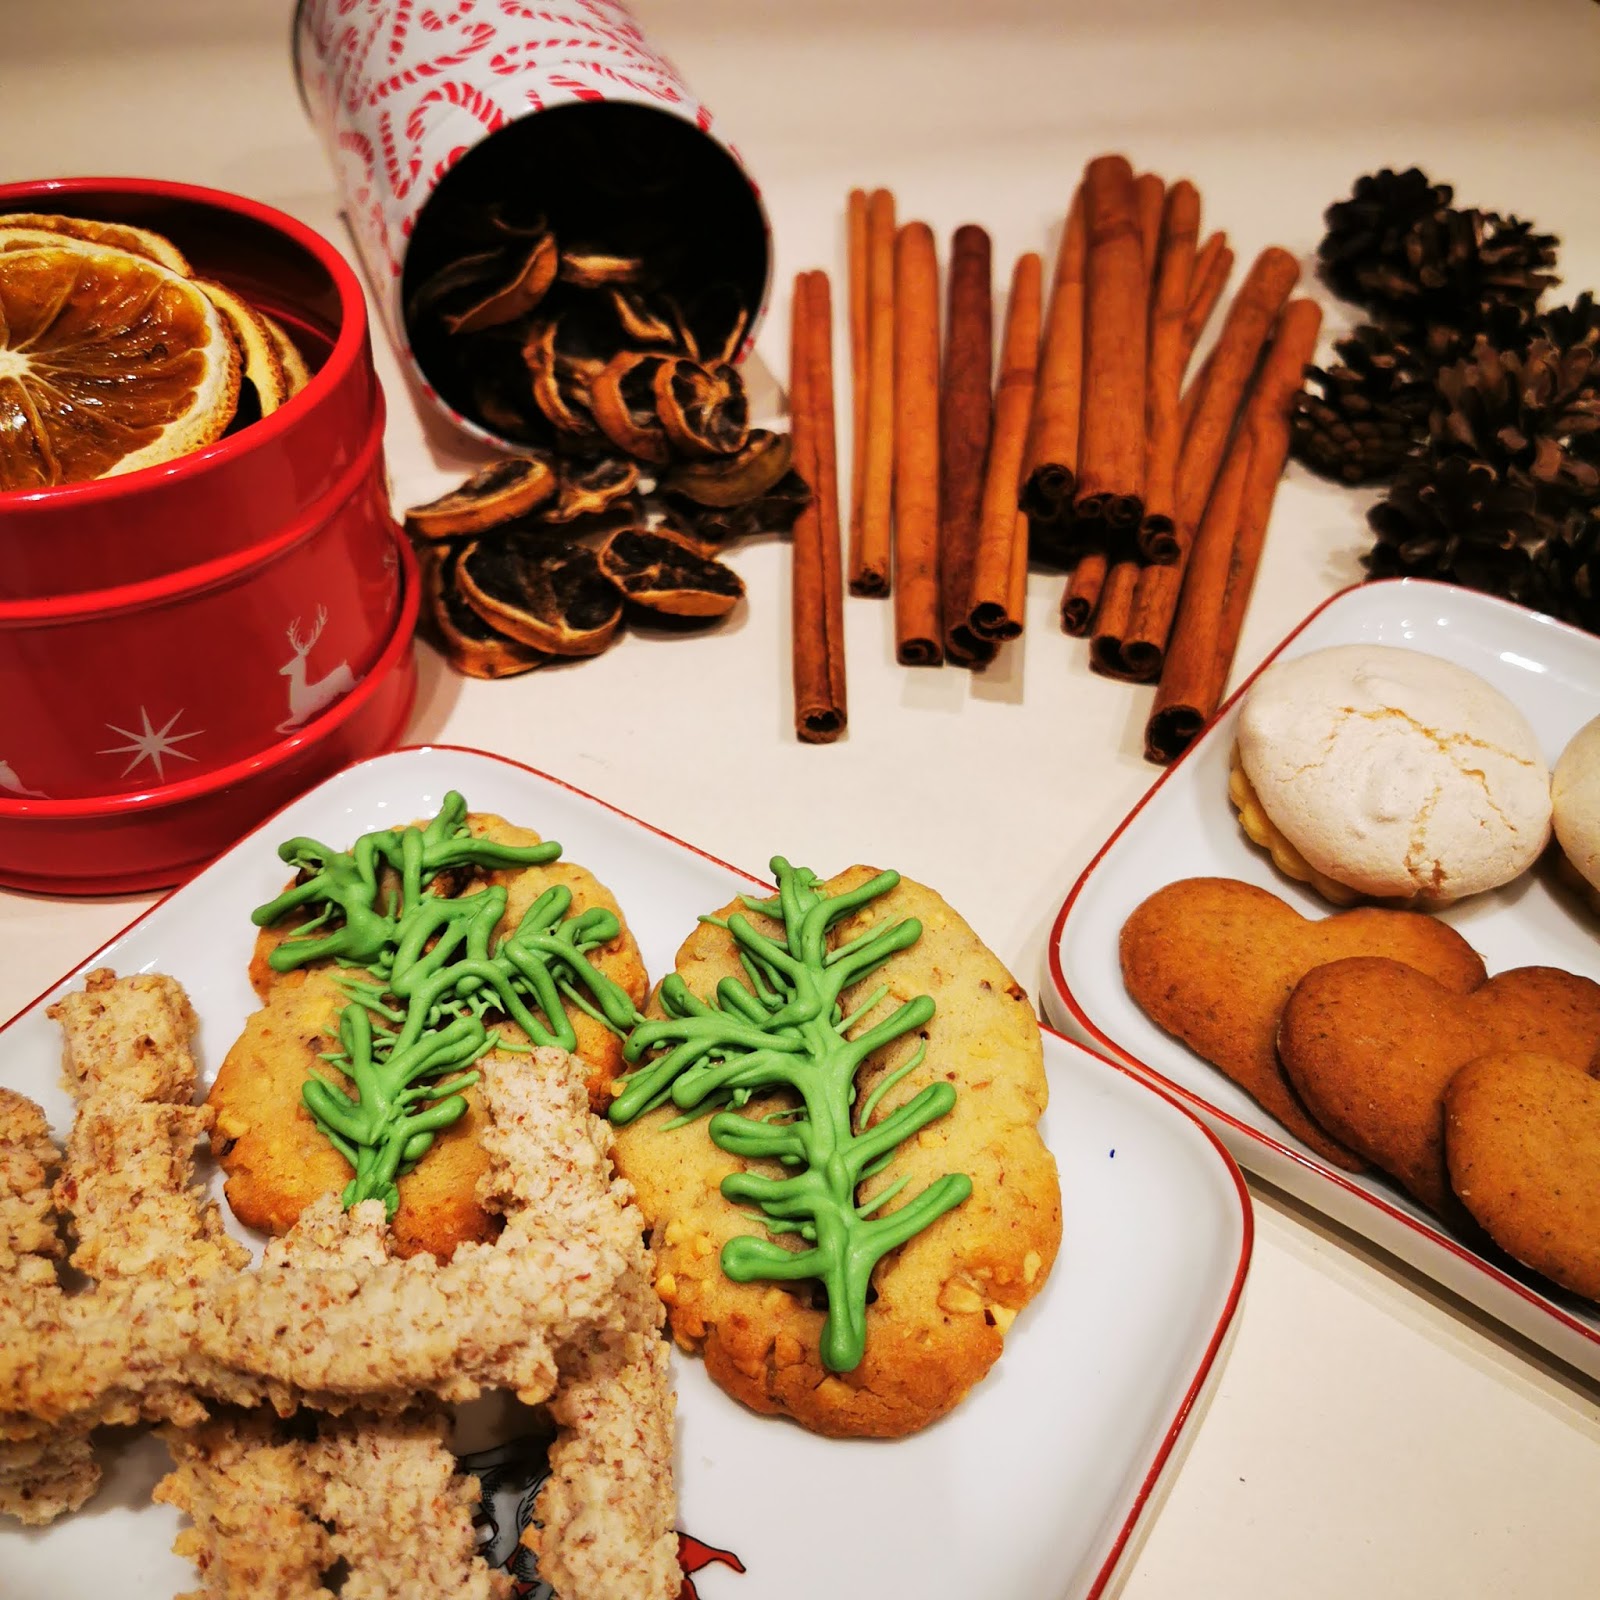
I bought cinnamon quills, not cinnamon sticks, the difference being that quills are longer.  I found they were much cheaper bought from an Indian supermarket than online or elsewhere.  Raided my pine cone store, I collect pine cones whenever I am out walking, for just such a crafting moment. And amassed florist wire, scissors, tissue paper saved from a shoebox and cellophane bags that I had bought the previous Christmas but had not used up. And finally, old takeaway food trays washed and saved from weeks ago.  Then I began to play and wrap.  Christmas carols were playing quietly in the background whilst I myself played with faffing the wrapping.  Not a professional wrapped look but none the less better than my usual efforts.  I am at least pleased my wrapping is moving in the right direction and I loved the fact that other than the cinnamon quills, which in fairness I need not have bought, everything was already in the house or reused from something else.  Now that must be the way forward.  Bet many of you remember grandparents as I do, that carefully folded and wrapped gift wrap, saved the ribbon and string and reused it for the next gift they were to wrap.  I think we are coming full circle, don't you?


Norwegian cookies wrapped and ready to gift


Notice the tissue is a little crinkled as it is 
reused tissue paper from a shoebox!


Inspiration comes from all sorts
of places, can you see where
the idea for the gift tag came from?
I love playing with paper and along with hearts, I have a big thing for Nisse too.  The small little
Christmas Norwegian gnome-like figures.  The Swedes call them Tomte and some British people, I believe call them gonks?  Correct me if I'm wrong, but to me these little fellows are nisse.

Below the white cut-outs show you the basic parts for the nisse gift tags, each one I cut freehand so to give them individuality and to avoid a fully uniform look.  I happen to have a bit of scrap card from previous crafting makes but they look quirky made out of magazine and newspaper and plain paper combinations too.  This is a wonderful activity to do with the small people in your life, create unique gift tags for your wrapping.  Where to write on the gift-tag?  Well, that is up to you, either on the back or take a peep under his beard! 


Basic Nisse cut out shapes

Each Nisse is slightly different from the others


Peep under his beard to see who the gift is to and from

The tissue is rather crinkled but does it matter? 
Better to reuse I think?

The first batch of wrapped gifts ready to be dispatched


And finally bringing several of my blog post ideas together in one gift:  A gift for a family of three.  One of my crochet giant baskets, the paper weaving animals full of sweets and chocolates, Norwegian cookies (the bottom of this cookie link takes you to all 7 baked cookies from Christmas 2019) and a something 'bought extra gift' for the mummy of the family, wrapped in reused tissue paper and home-dried citrus fruit.  I loved gifting this, hope they liked it as much as I enjoyed making it all.


A basket of homemade goodies


  I still have much to wrap but this year I am enjoying it more than previous years, what about you? Are you a last-minute just get it wrapped person or are you a let's make it look perfect type of person?