Showing posts with label christmas presents. Show all posts

Quick Christmas Bags

December 17th


In Norway, we often hang kremmerhus on the Christmas tree.  These are paper cone-shaped bags for want of a better description.  We fill them traditionally with fruit and nuts, but often in reality with sweets nowadays.
Crocheted gift bags


I last blogged about them in 2013 and if you follow the link, scrolling down you will find instructions how to make your very own paper kremmerhus, this is a fast and quick paper craft, easy to make with small ones too! 

Instructions for making paper kremmerhus cones


Taken from the internet,
not my photo
 

Taken from the internet,
not my photo

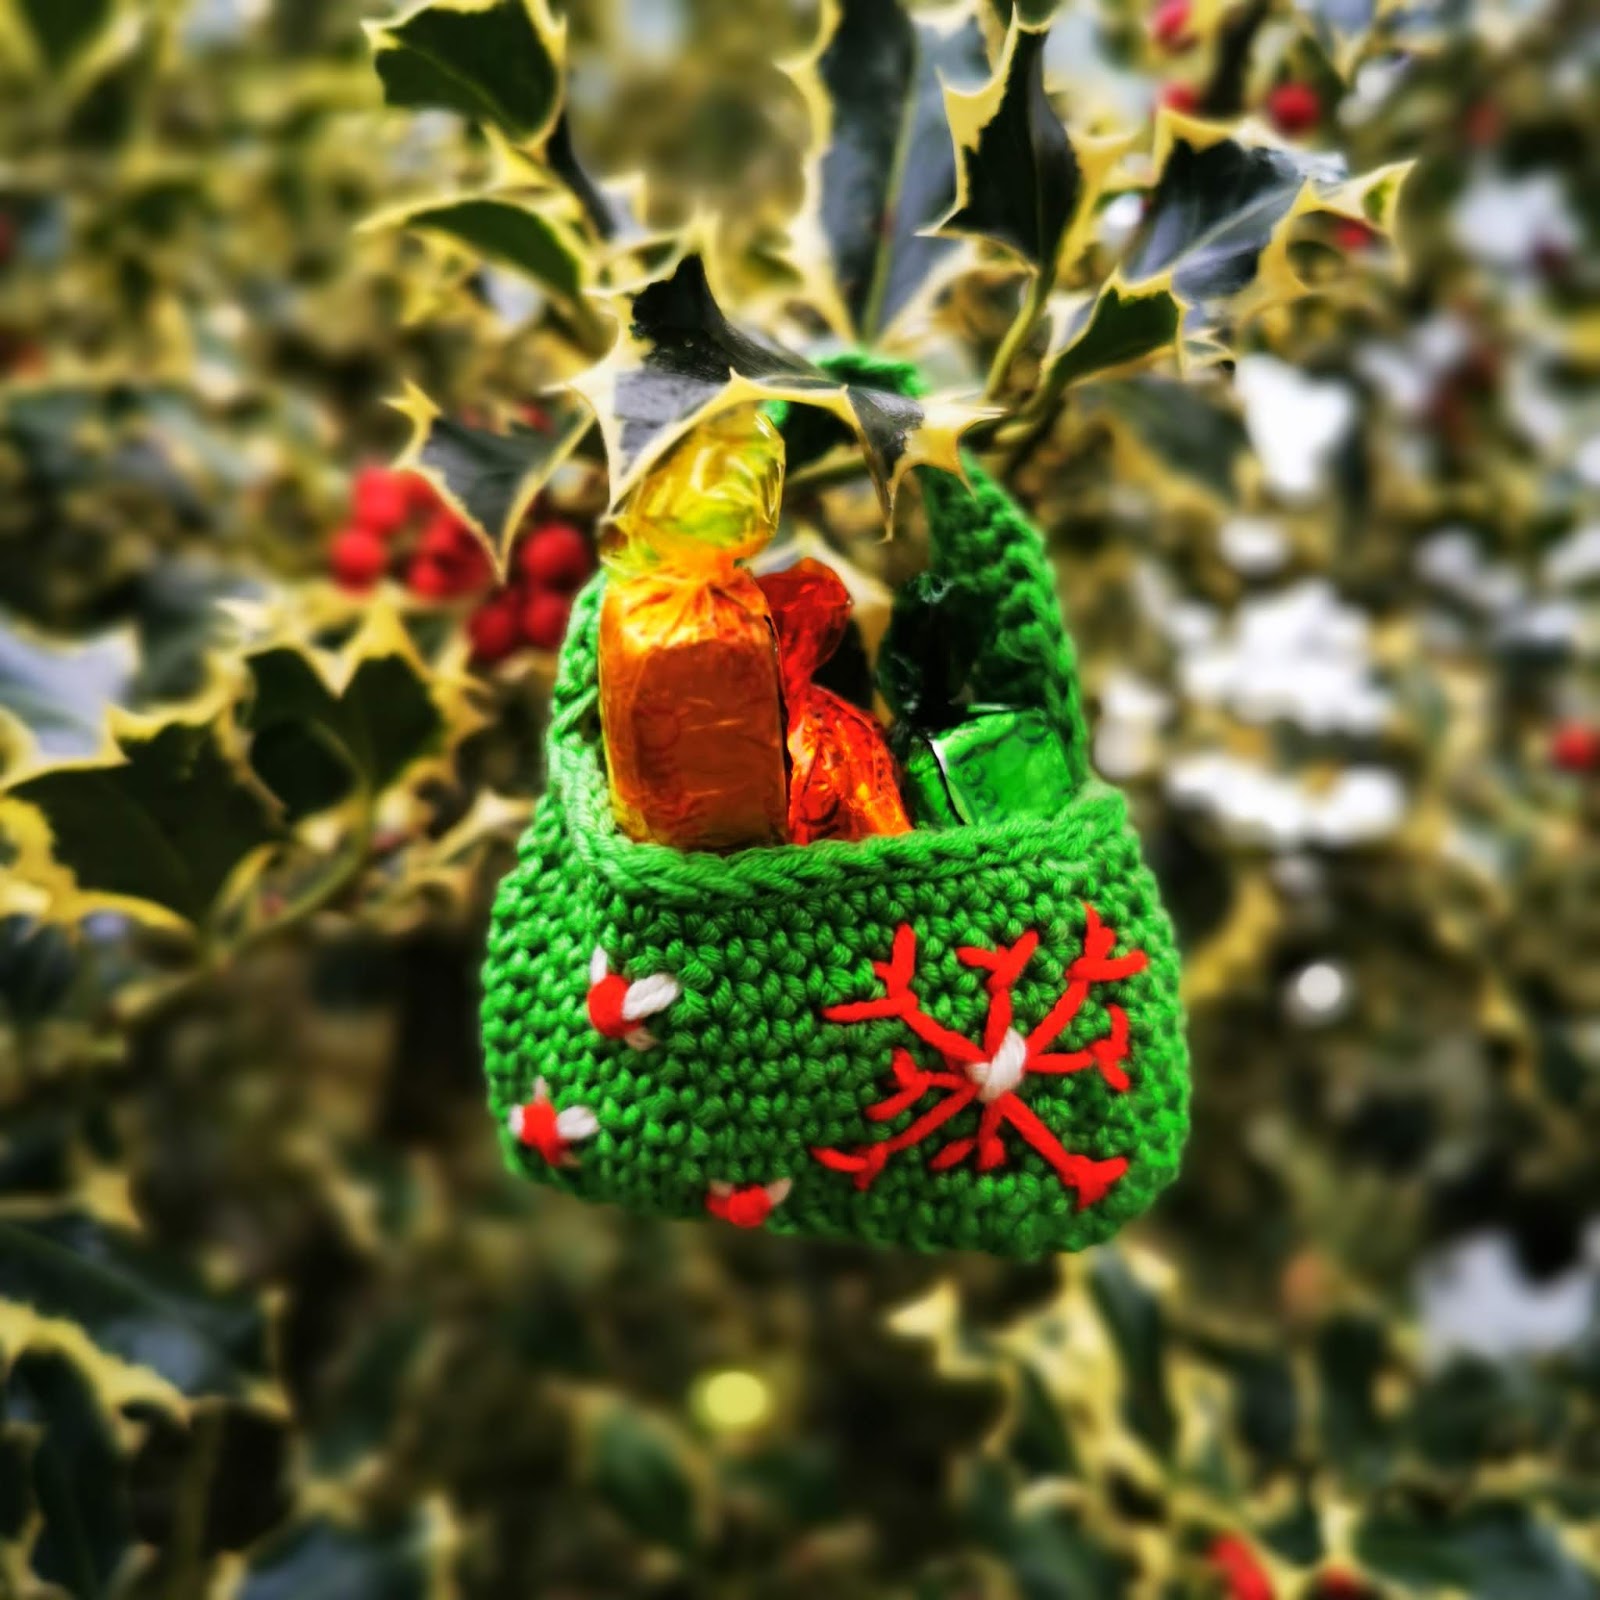
I decided this year it would be lovely to have some crocheted kremmerhus on the tree filled with a very small gift that I could give to any unexpected guests or in case I needed a quick prize for any festive game playing that we inevitably play over the coming season.  My hook out, I soon began to crochet up a quick little cone-shaped bag.  Made in less than an hour, plus time to embellish, though not necessary, did add a little extra touch.  Want to have a go... then this is what I came up with, instructions are at the end of the post.


Crocheted kremmerhus

Crocheted kremmerhus


I then found a lovely pattern from the very clever and prolific crocheter, Karen, over at Just Pootling who designed these lovely little bags for just the same purpose, for her pattern for these rectangular bags, see the end of this post.

Little crocheted bags using Karen's pattern 


This bag was an adapted version of Karen's pattern


For the kremmerhus 'cone' bags

You can use any yarn with the appropriate size hook, gauge does not matter. 

Beginning at the tip of the kremmerhus:
R1  Magic circle, 4 dc into the magic circle. sl st into first dc
R2  2dc into each stitch: 8 sts
R3  ch 1 *1dc into each st*
R4-5 *1dc into each st*, note you do not need to ch 1 at the beginning of these rows
R6  *1dc in the first stitch then 2 dc into next stitch* repeat between **: 12 sts
R7  ch 1 *1dc into each st*
R8-9 1dc into each st*, note you do not need to ch 1 at the beginning of these rows
R10  *2dc then 2 dc into next stitch* repeat between **: 16 sts
R11  ch 1 *1dc into each st*
R12-13  1dc into each st*, note you do not need to ch 1 at the beginning of these rows
Adding decorative crochet edging to the kremmerhus
R14  *3dc then 2 dc into next stitch* repeat between **: 20 sts
R15  ch 1 *1dc into each st*
R16-17  1dc into each st*, note you do not need to ch 1 at the beginning of these rows
R18  *4dc then 2 dc into next stitch* repeat between **: 24 sts
R19  ch 1 *1dc into each st*
R20-21  1dc into each st*, note you do not need to ch 1 at the beginning of these rows
R22  *ch 5 skip 1dc and sl st into the next stitch*  repeat to the end of the row, you should end up with 12 hoops,(see photo)  sl st in the first dc DO NOT FASTEN OFF
Basket handle: chain enough length to reach the other side, then sl st between hoop 6 and 7, the halfway point the ch length for the handle will depend on what handle size you would like for your kremmerhus.  I vary the length depending on the yarn and what feels right, this could be anywhere from chain 25-35.
Cut and fasten off, fill with goodies and hang on your tree.


And to make Kate's lovely rectangular bags, see: Just Pootling Bags I adapted her pattern to make the basket bag.  All I did was begin in the same way as Kate did and stopped at the halfway height adding just a chain for the handle but then crocheting a dc into each chain to make the handle a little wider.  No more complicated than that. 


Crocheted gift bags

♥  Do you have small gifts ready for unexpected visitors 
or as impromptu prizes?  ♥

Glass Eclectic Home Style

December 4th

Stained glass rainbows
Four years ago I took a two-hour glass fusing course at someone's home.  I was nervous as to what to expect, going alone and not knowing anyone yet excited as always to learn something new.  And what a memorable night it has become.  Not only have I found a new love, a new hobby but I forged new friendships that night that are still strong to this day.  People come and go in your life and have certain roles to play in the journey of your life and these two women, one young enough to be my daughter, the other old enough to be my mother, we three generations forged forward and became friends through our love of crafting.  My sister has a friend in America, who says she is a collector of hobbies, I've pinched this line and claim it now my own, it is so true of me.


Last year as a gift to me, Judith gave me her time and taught me the principles of stained glass.  I was hooked, loving being able to hold tools and use the horseshoe nails that is a craft from years of old.  Very little in this craft has changed over the generations and there is something so wholesome about this. Last year I made a tree that has now stood outside in all weather for 365 days.  At Christmas, the tree is adorned with a glass star but for the remainder of the year it is a proud large green glass tree. (To see the tree, click Stained Glass Tree )

Judith and I decided to create some more stained glass again this year and now that it was gifted yesterday to my sister for her birthday, I can show you what was made.  Be warned this post is photo-heavy!


Buying the glass and choosing is all part of the fun

Measuring accurately is important as we do not glass grind


Using a piece of wood to hold our 'piece' together, to give
us something to butt against and the all-important straight line

Horseshoe nails are still used in creating stained glass today

Stained glass in the making 


All ready for 'knocking up' and soldering


Stained glass has now been cemented and needs to dry for a couple of days

In the crafting workshop, the middle rainbow catcher
is not stained glass, it is another technique called foiling

Some people call these Rainbow Panels others call it a Rainbow Ladder

Do you know the caption for remembering the order of the colours of the
rainbow, Richard Of York Gave Battle In Vain?


I loved the rainbow stained glass but it was not quite Christmassy enough and when Judith suggested we tried our hand at foiling again, we both knew that it could not be rainbow-themed, she suggested a Tree and I was again enticed and hooked to create...

With foiling, no lead is used, just a thin copper paper and soldering to hold it all together.  Cutting the glass requires a much sharper cleaner line, many people grind their edges to get them exact, but not having that equipment means we have to be as precise by hand as possible and not worry too much if all is not exact as we would like, after all, it is hand made and not mass-produced.


Adding the foil edging, making sure it is on both
sides of the glass and is as tight a fit as possible.

Holding the individual pieces tight with
 horseshoe nails so we can join it with solder.


Once one side is soldered we need to do
the same on the reverse and on all sides.

And eventually, you have a piece to
take home and let the light shine through

And finally, I placed a couple of used gin bottles in the kiln on a slightly lower temperature than normal and created a lemon cutting board out of the smaller bottle and then 'slumped' the larger bottle into a very shallow mould to create a nibble plate to go along with my G & T. 
Won't you join me in a tipple?

That's Christmas sorted then!

Can you tell what the gin was from the bottles?

Cheers!


I hope these photographs have given you a taste of joyful colour, 
they certainly did for me in the creating of these pieces. 

♥  Are you making any presents this year?  ♥