Showing posts with label Crochet. Show all posts

Christmas Angels

I'm not generally a fan of angels unless I think back to my daughter's nativity play and of course, she was the most gorgeous angel that ever walked this earth ;) but when I came across these little angles and could see what a quick make they would be, I was tempted and an angel workshop began in my home. 


These are uber quick to make and thanks to Atty's clever design easy to memorise to make too, so you are not constantly having to refer back to how to make each piece.


Atty uses lovely primary colours with her angels but I was keen to decorate my porch this year with more muted colours and I think along with the natural vegetation there is a sense of calm about the Christmas porch an understated, I AM EXCITED ABOUT THIS SEASON feeling...

The pattern and link to Atty's angels are at the bottom of this post.  She makes the body out of a large circle and folds it in half sewing a few stitches down to hold the fold.  The head is made the same way, with the same number of stitches but only uses one round and the wings are the clever bit...


Crocheted angel wings


I have used very neutral colours for the angel but click on the link
below and see the wonderful colour selection that Atty herself has used

Crocheted angel


To the side of my porch, a simple decoration of crocheted angels and vegetation from the garden

To find the pattern click on Atty's Angel pattern


  What are your favourite decorations to have? 

Quick Christmas Bags

December 17th


In Norway, we often hang kremmerhus on the Christmas tree.  These are paper cone-shaped bags for want of a better description.  We fill them traditionally with fruit and nuts, but often in reality with sweets nowadays.
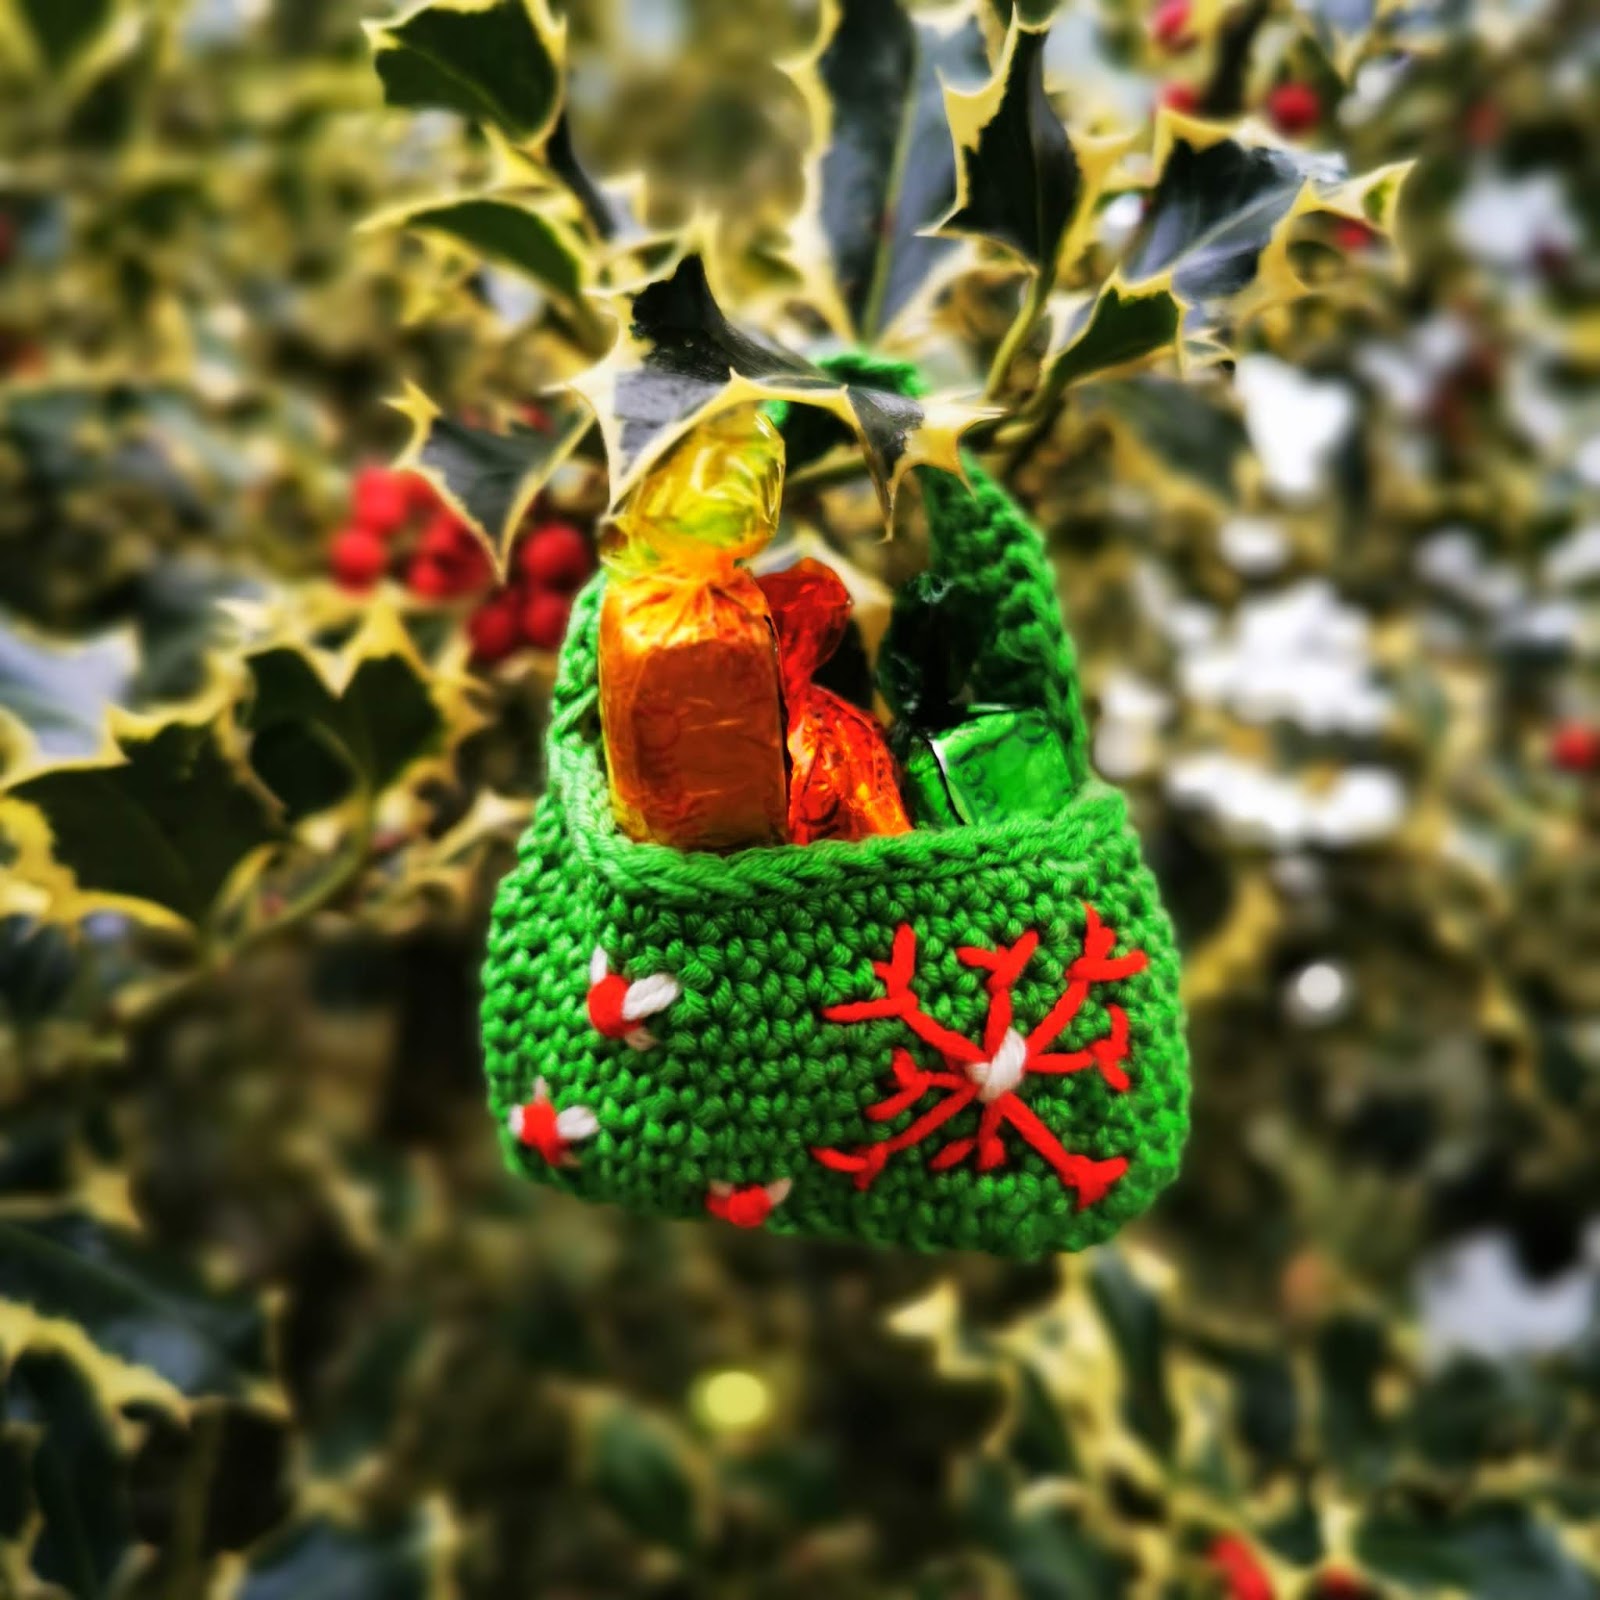
Crocheted gift bags


I last blogged about them in 2013 and if you follow the link, scrolling down you will find instructions how to make your very own paper kremmerhus, this is a fast and quick paper craft, easy to make with small ones too! 

Instructions for making paper kremmerhus cones


Taken from the internet,
not my photo
 

Taken from the internet,
not my photo

I decided this year it would be lovely to have some crocheted kremmerhus on the tree filled with a very small gift that I could give to any unexpected guests or in case I needed a quick prize for any festive game playing that we inevitably play over the coming season.  My hook out, I soon began to crochet up a quick little cone-shaped bag.  Made in less than an hour, plus time to embellish, though not necessary, did add a little extra touch.  Want to have a go... then this is what I came up with, instructions are at the end of the post.


Crocheted kremmerhus

Crocheted kremmerhus


I then found a lovely pattern from the very clever and prolific crocheter, Karen, over at Just Pootling who designed these lovely little bags for just the same purpose, for her pattern for these rectangular bags, see the end of this post.

Little crocheted bags using Karen's pattern 


This bag was an adapted version of Karen's pattern


For the kremmerhus 'cone' bags

You can use any yarn with the appropriate size hook, gauge does not matter. 

Beginning at the tip of the kremmerhus:
R1  Magic circle, 4 dc into the magic circle. sl st into first dc
R2  2dc into each stitch: 8 sts
R3  ch 1 *1dc into each st*
R4-5 *1dc into each st*, note you do not need to ch 1 at the beginning of these rows
R6  *1dc in the first stitch then 2 dc into next stitch* repeat between **: 12 sts
R7  ch 1 *1dc into each st*
R8-9 1dc into each st*, note you do not need to ch 1 at the beginning of these rows
R10  *2dc then 2 dc into next stitch* repeat between **: 16 sts
R11  ch 1 *1dc into each st*
R12-13  1dc into each st*, note you do not need to ch 1 at the beginning of these rows
Adding decorative crochet edging to the kremmerhus
R14  *3dc then 2 dc into next stitch* repeat between **: 20 sts
R15  ch 1 *1dc into each st*
R16-17  1dc into each st*, note you do not need to ch 1 at the beginning of these rows
R18  *4dc then 2 dc into next stitch* repeat between **: 24 sts
R19  ch 1 *1dc into each st*
R20-21  1dc into each st*, note you do not need to ch 1 at the beginning of these rows
R22  *ch 5 skip 1dc and sl st into the next stitch*  repeat to the end of the row, you should end up with 12 hoops,(see photo)  sl st in the first dc DO NOT FASTEN OFF
Basket handle: chain enough length to reach the other side, then sl st between hoop 6 and 7, the halfway point the ch length for the handle will depend on what handle size you would like for your kremmerhus.  I vary the length depending on the yarn and what feels right, this could be anywhere from chain 25-35.
Cut and fasten off, fill with goodies and hang on your tree.


And to make Kate's lovely rectangular bags, see: Just Pootling Bags I adapted her pattern to make the basket bag.  All I did was begin in the same way as Kate did and stopped at the halfway height adding just a chain for the handle but then crocheting a dc into each chain to make the handle a little wider.  No more complicated than that. 


Crocheted gift bags

  Do you have small gifts ready for unexpected visitors 
or as impromptu prizes? 

Christmas baskets

Christmas chocolates & Baskets

December 10th 

Quality Street still going strong

We are most definitely a Quality Street family, none of your Roses, Heros or Celebrations. For us, it has to be Quality Street.  And we only open the box on Christmas Eve. This was an English tradition my parents adopted some 45 years ago and one which we have continued in our household.  Interestingly Quality Street began it's life under Mackintosh brand based in Halifax, here in the UK.  Being named after JM Barrie's (he of Peter Pan fame) play of the same name, Quality Street.  Mackintosh realised that chocolate was a luxury item that many could not afford so in 1936 decided to find a way of making cheaper chocolate and packaging as to be able to retail it at a cheaper price.  He and his wife created a new kind of sweet by mixing hard toffee with runny caramel which proved to be so popular that they are credited with opening the world's first toffee factory.  Traditionally sweets were packaged in layers and separated by more packaging (think chocolate box selections) Mackintosh needed to reduce the cost.  His inventive way of wrapping each chocolate in highly coloured foil papers was also a world first. He invented the first twist wrapping machine! who knew there was even such a thing!  The packaging was also revolutionary, not a cardboard box but a tin, ensuring that on first opening a wonderful strong chocolate aroma was sensed adding to the pleasure for all.  Even today on Christmas Eve, that smell and all that it represents for me, the last few weeks of baking and organising are now over when that tin is opened, it is time to relax and enjoy being with loved ones.


Unfortunately, I am not keen however on the current purple plastic tubs that Nestle has introduced since taking over the Macintosh brand and I tend after initial opening to transfer the chocolates into something else. Not having been satisfied with any vessels in the house, I decided this year to make my own.  Out came a 10mm hook (for you non-crocheters this is a large hook, seldom used), some t-shirt yarn, much thicker than normal wool and a phone call and some messages back and forth with the lovely Kate about the sort of base I would like for my basket and we had the makings of a perfect Quality Street Crochet Christmas Basket.


Initial design stage for the base

Kate was truly lovely and consulted me along the path of her designing my idea, a few tweaks were made here and there and she came up with the idea of personalising it for me too!
Adding in personalisation

Delivery of my bases!

Beautifully made basket baseboards by Kate

I began crocheting in earnest and in no time at all had whipped up a couple of baskets.

Already I could see how the basket would be and
began thinking up all sorts of other ideas off the back of this

The basket bug took over rather quickly!


From humble beginnings, I thought I might be onto something here and put out a post on my
face book page to see if anyone would also like to learn and make a basket.  The response was positive and a few weeks later a group of lovely ladies came and made themselves a basket ready to put their Quality Street into on Christmas Eve.


All set up with baseboards, wooden coasters to crochet,
 hook, t-shirt yarn and the all-important box of chocolates.  The personalisation on the
boards was a surprise that the ladies knew nothing about.

Within a short space of time and having mastered and conquered the difficult base
row, everyone achieved and created a basket in an evening.

End of the evening show and tell!


It appeared that the basket bug continued after the evening as I had made several since and the majority of the ladies have ordered their own t-shirt yarn and are, as you probably read this, constructing more baskets.  I'm thinking of holding another course in the new year and compiling kits to send out far and wide, would you be interested?

A nest of baskets
Nesting baskets in Advent and Christmas colours

One of the ideas that came from this was to create a wipeable base, so it could be used for a wider range of purposes, different shapes are also being considered.


A hexagonal basket


Acrylic base, wipable, very useful!


I may be going a little overboard, but it is such fun and the baskets are so versatile
And look at this from Helen who had not crocheted in ears and now feels she has her crafting groove back on, I should say she has nailed it with this drawstring project bag.

Oval baseboard and personalisation


Completed project bag by Helen


Do drop me a line here or by email to eclectichomeandlife@gmail.com if you would be interested in a basket making course in south Oxfordshire in the New Year or if you would be interested in a kit to make the baskets with written instructions from me!


  Do you find you end up making 
more than one of something? 

Spreading End of Year Love

A wonderful community
December 29th

Jane from Sydney in Australia is more famously known as Quen Bab's, have you heard of her?  Jane was named Australian for the day back in June 2015 and strives despite her several illness' to brighten her community and spread a little happiness around her hometown which has now rippled out across the world.

What does Jane do?  She yarn bombs on scales from leaving small crocheted hearts to yarnbombing entire cycle racks and so much more,  just look at the riot of colour...

Photo was taken from Queen Bab's website,
a typical example of her riot of colour that she
spreads around her local community


Website:  Queen Bab's

Instagram:  IG account

Facebook:  Facebook


Queen Bab's has given much to the community as I have already mentioned and on her website, she provides many free patterns and tips on how to yarn bomb and what to consider before you begin.  She shares all her experience of what does and does not work. If you are considering doing something like this yourself her website is invaluable, even if this is not your thing, go have a peek!  Jane is mostly wheelchair bound and desperately needs a new wheelchair, so she has designed a new pattern called the  Love Bomb Christmas Ornament and she hopes the crochet community around the world will get behind her and buy the pattern as all proceeds will go directly to funding a new and much-needed wheelchair. 


These Love bombs just make my heart sing,
the photo was taken from Queen Bab's Ravelry page

And the crochet community has not disappointed, so far the hashtag #lovebombornament has 320 photos and the hashtag #lovebombcircle has 147 photos, that's a lot of love being shared all over the world people are making Jane's love bomb and even yarn bombing them, just look at this... know where I would like to be...


As of the 5th December, (the pattern was only released on November 30th) a third of the money needed to fund a new wheelchair had been reached!  By December 9th, they were halfway there! And by December 11th they had reached the three quarter way mark!  By the 22nd it was looking like Jane would be able to go shopping in the new year for a working wheelchair, the amount raised will determine which model!  How fantastic is that! 

I have bought the pattern but unlike so many people who seem to have found time not only to make one but several, as soon as I have published this post, whilst my son is having a teenage party in our house !!!!! I am a nervous wreck, I will attempt to soothe my nerves by making the simple yet beautiful love bomb...


Screenshot from Queen Bab's Instagram account from many others
who have made her pattern and shared their joy with her


   May you all have a wonderful new year and I wish for you all that you wish for yourself and loved ones   

St Lucia Day Christmas baking 4

Swedish Juliga kolasnittar ~ Christmas Caramel cuts
St Lucia
December 13th

A Swedish tradition mainly but one that the Norwegians have slowly returned to is St Lucia Day 13th December  Clicking on the previous link will take you to a post that explains why this day is celebrated in Scandinavia and here too you will find the traditional bake in Sweden and Norway of Lussekatter.  Lussekatter is made with yeast and the all-important spice that is saffron they are best eaten warm, straight from the oven.
their own.

Lussekatter ~ saffron buns eaten traditionally on the 13th December

Saffron is the spice associated with December 13th in the Scandinavian countries and as I have previously shared the above Lussekatter with you so now this year I decided to share a saffron cookie, to become one of the 7 cookies I will be baking this year.  Let me present you with a Swedish inspired cookie~

Rolled dough with saffron

Juliga kolasnittar ~ 
Christmas Caramel Cuts

You will need:                                                            

  175g plain flour

  1 tsp baking powder

  100g butter softened

  100g sugar

  1tbsp vanilla sugar               
Roll out the saffron dough
into two equally sized rectangles

  2 tbsp golden syrup

  1/2 g saffron


1  Preheat oven to 175 degrees Celcius

2  Mix the flour, baking powder and both sugars.

3  Add the saffron to the softened butter and mix well, add to the dry ingredients.

4  Mix the mixture until it forms a dough, I used an electric mixer.
Cut the cookies as soon as they come out of
the oven, cut them on the slant as is traditional

5  Form two equally sized balls form the dough mixture.                                                                                           
6  Spread each dough ball onto a separate greaseproof paper baking tray and roll out to a thin 3-4 mm in depth rectangle.  Even out the edges as best you can.  See photograph for better clarification.

7  Bake for 10-12 minutes until golden in colour.

8  Immediately begin cutting diagonal lines ( see photograph) across the cookie mixture whilst it is still hot.  If you leave it too long to cut the mixture it will crisp up and you will have many breakages.

9  Allow to cool and place in an airtight container until needed.

10   like to serve this is a wide-brimmed class as they traditional should be long and cut on a slant making them ideal to serve in such a way.  And Storage, I often use Norges glass (Kilner jar)

Juliga kolasnittar ~ Christmas caramel cuts,
a cookie with saffron for St Lucia Day

I have for a while been thinking of making my own Lucia wreath or doll to have beside the lussekatter I make every year.  In Scandinavia, there are many versions to buy, but something more homemade feels right.  As ever time is my demon and alas I have not had the time, but I have managed to save me time in the long run and do not need to create a pattern because look what the good old internet has found for me...

What did we do before the internet?

St Lucia doll crocheted created by the talented Swedish crocheter, just look at the proportions of this amigurumi crochet doll of St Lucia and her procession followers.   I definitely want to crochet them!


Traditionally the girl chosen to be St Lucia for the procession had lit candles on the head wreath, in later years this has been replaced by battery-powered candles but I rather like this crochet version for the youngest kindergarten-aged children.    Head wreath with candles


St Lucia head wreath with candles


Happy St Lucia day, why not try making some lussekatter or Juliga kolasnittar and bring some 
Scandinavian baking into your home

Teaching ha!

March 23rd 

After trying to get together with the talented Helen from The Colour House for over a year we finally managed to pinpoint a date and despite potential illnesses afoot we did get it together.  Was the wait worth it, well yes and no!

We had decided to share our passions and talents, first up would be me, teaching Helen to crochet and later on, we hope that she will help me to continue my journey with felt.  In prepping for our meeting I stalked her Instagram ~  Helen on IG and decided that as she had informed me she was not interested in making blankets and cushions, that amigurumi would be the way forward. Seeing how cacti featured numerous times on her IG account, I decided that would be what she would learn to make first.  Ambitious, no of course not, she says in hindsight through gritted teeth and after several glasses of vodka to calm the nerves so to speak.  Are you beginning to realise where this post is going...

The below photos are pinched from Helen's IG to give you an idea why I chose cacti...

Helen is a whizz on the sewing machine, here she is
making a lampshade cover with applique cacti

Both glass and felted cacti made by Helen

They multiplied on her craft room window

Her goodies from a craft swap from the crochet guru Flo and Dot

So I set to not having much experience myself with amigurumi and came up with these little cacti and hot-footed it over to the local indie garden centre to purchase some mini terracotta pots...

A simple rectangle made into a cactus
and the obligatory single large flower


True amigurumi crochet works in the round


A trio of cacti

This saw me driving on a beautiful spring morning the hour and a half drive towards Helen and me in search of her purple door.  A great indication of the explosion of colour and treats on which to feast my eyes on within her home.

Having never met or even spoken on the phone before we had so much to chat about that crochet was put to one side for the first hour.  I do believe we could have chatted all day.  And my goodness I could have strolled around her house for much longer.  She has so much colour and beauty in her home, she knows how to put things together, but I should not have been surprised she is one of my favourites to follow on IG.

Not being able to put it off any longer and after several hot beverages it was time for me to teach Helen to crochet, something she has wanted to do for many years, her mother spins, weaves, knits and crochets.  Hang on, why did her mother not then teach her...

"Oh, did I not say, I am left handed.."

"Ah, no, you did not," I replied sweetly,  thinking frantically,  'oh my gosh how is this going to work out, I have absolutely no idea about teaching a leftie.'  As my helpful husband mentioned late that same night, "Rookie mistake Selma, you should always check..."  Yes thank you, John, I realise that, but I hadn't.  And there I was standing in Helen's kitchen thinking, 'how hard can this be?'  Turns out, pretty dam hard actually.

Taking a deep breath and not trying to think that I was ambitious already in the make I had chosen to undertake with Helen, I was teaching her the magic circle for goodness sake on her first foray into the world of crochet, so I tried hard not to worry that she was, as she called it, cack-handed and with trembling hands I began to show her and to explain.  It was totally hopeless, Helen now tells me my face was a picture and she read it as 'Selma wants to be anywhere but here right now,'  she wasn't far wrong I have to say.

We tried everything, mirroring each other, sitting opposite, sitting side by side, taking it slowly, me repeating it many times, it was just not that simple.  But somehow through Helen's sheer determination and a lot of sweat glow dripping down my back and under my arms, Helen grasped the magic circle and the beginning of some stitches.  It took a long time, due in most part to my inability to work out how a left handed person works, the next time I will really research it because believe me, it is not straightforward mirroring or exactly the opposite of how a right handed person works. If I could have backed out of Helen's kitchen without being missed I would have run for the hills.  I would have given up and said it was hopeless, but Helen was determined and she cracked it.

Not only did Helen crack it but she has been watching online videos finding more cacti patterns and reading patterns all on her own after only limited amount of teaching from me.   She really is one clever crafty cookie and someone I am delighted to now call a friend.  Here's to a long and fun filled crafty relationship, Helen.


Helen's first crochet cactus

A great first crochet project, well done Helen

In case you fancy crocheting some cacti, here are a few patterns I found online whilst researching...

Magic circle right handed

Magic circle left handed

Cacti page there is a translate button on the page!


I was totally out of my comfort zone 
and learnt a lot teaching Helen