• Home
  • About
    • Crochet
    • Knitting
    • Baking
    • Christmas posts
    • Sailing & Travel

      Chocolate mousse cookies

      Today I share with you the last of the seven bakes for Christmas.  We of course bake 
      other things but we only cook seven types of cookies. We also bake  Christmas cake, Christmas pudding, kransekake (see here) and chocolate roulade ~ a true family favourite  (see here), along with other things that catch our fancy, it is a foodie time of year where we perhaps eat a tad too much but come together as a family and share in this culinary feast.  This year as we all know is different and many families and friends are separated for reasons beyond their control and we are the same in this household.  Today for the first time I made chocolate mousse cookies as my daughter is not a Norwegian spice kind of girl, give her her Asian heritage spice and away she goes but not the warmth of Norwegian cookies, so  these are for her...

      Chocolate Mousse Cookies


      Chocolate Mousse Cookies
      You will need:

      3 egg white
      200g sugar
      2 tsp vanilla sugar
      250g good quality dark chocolate
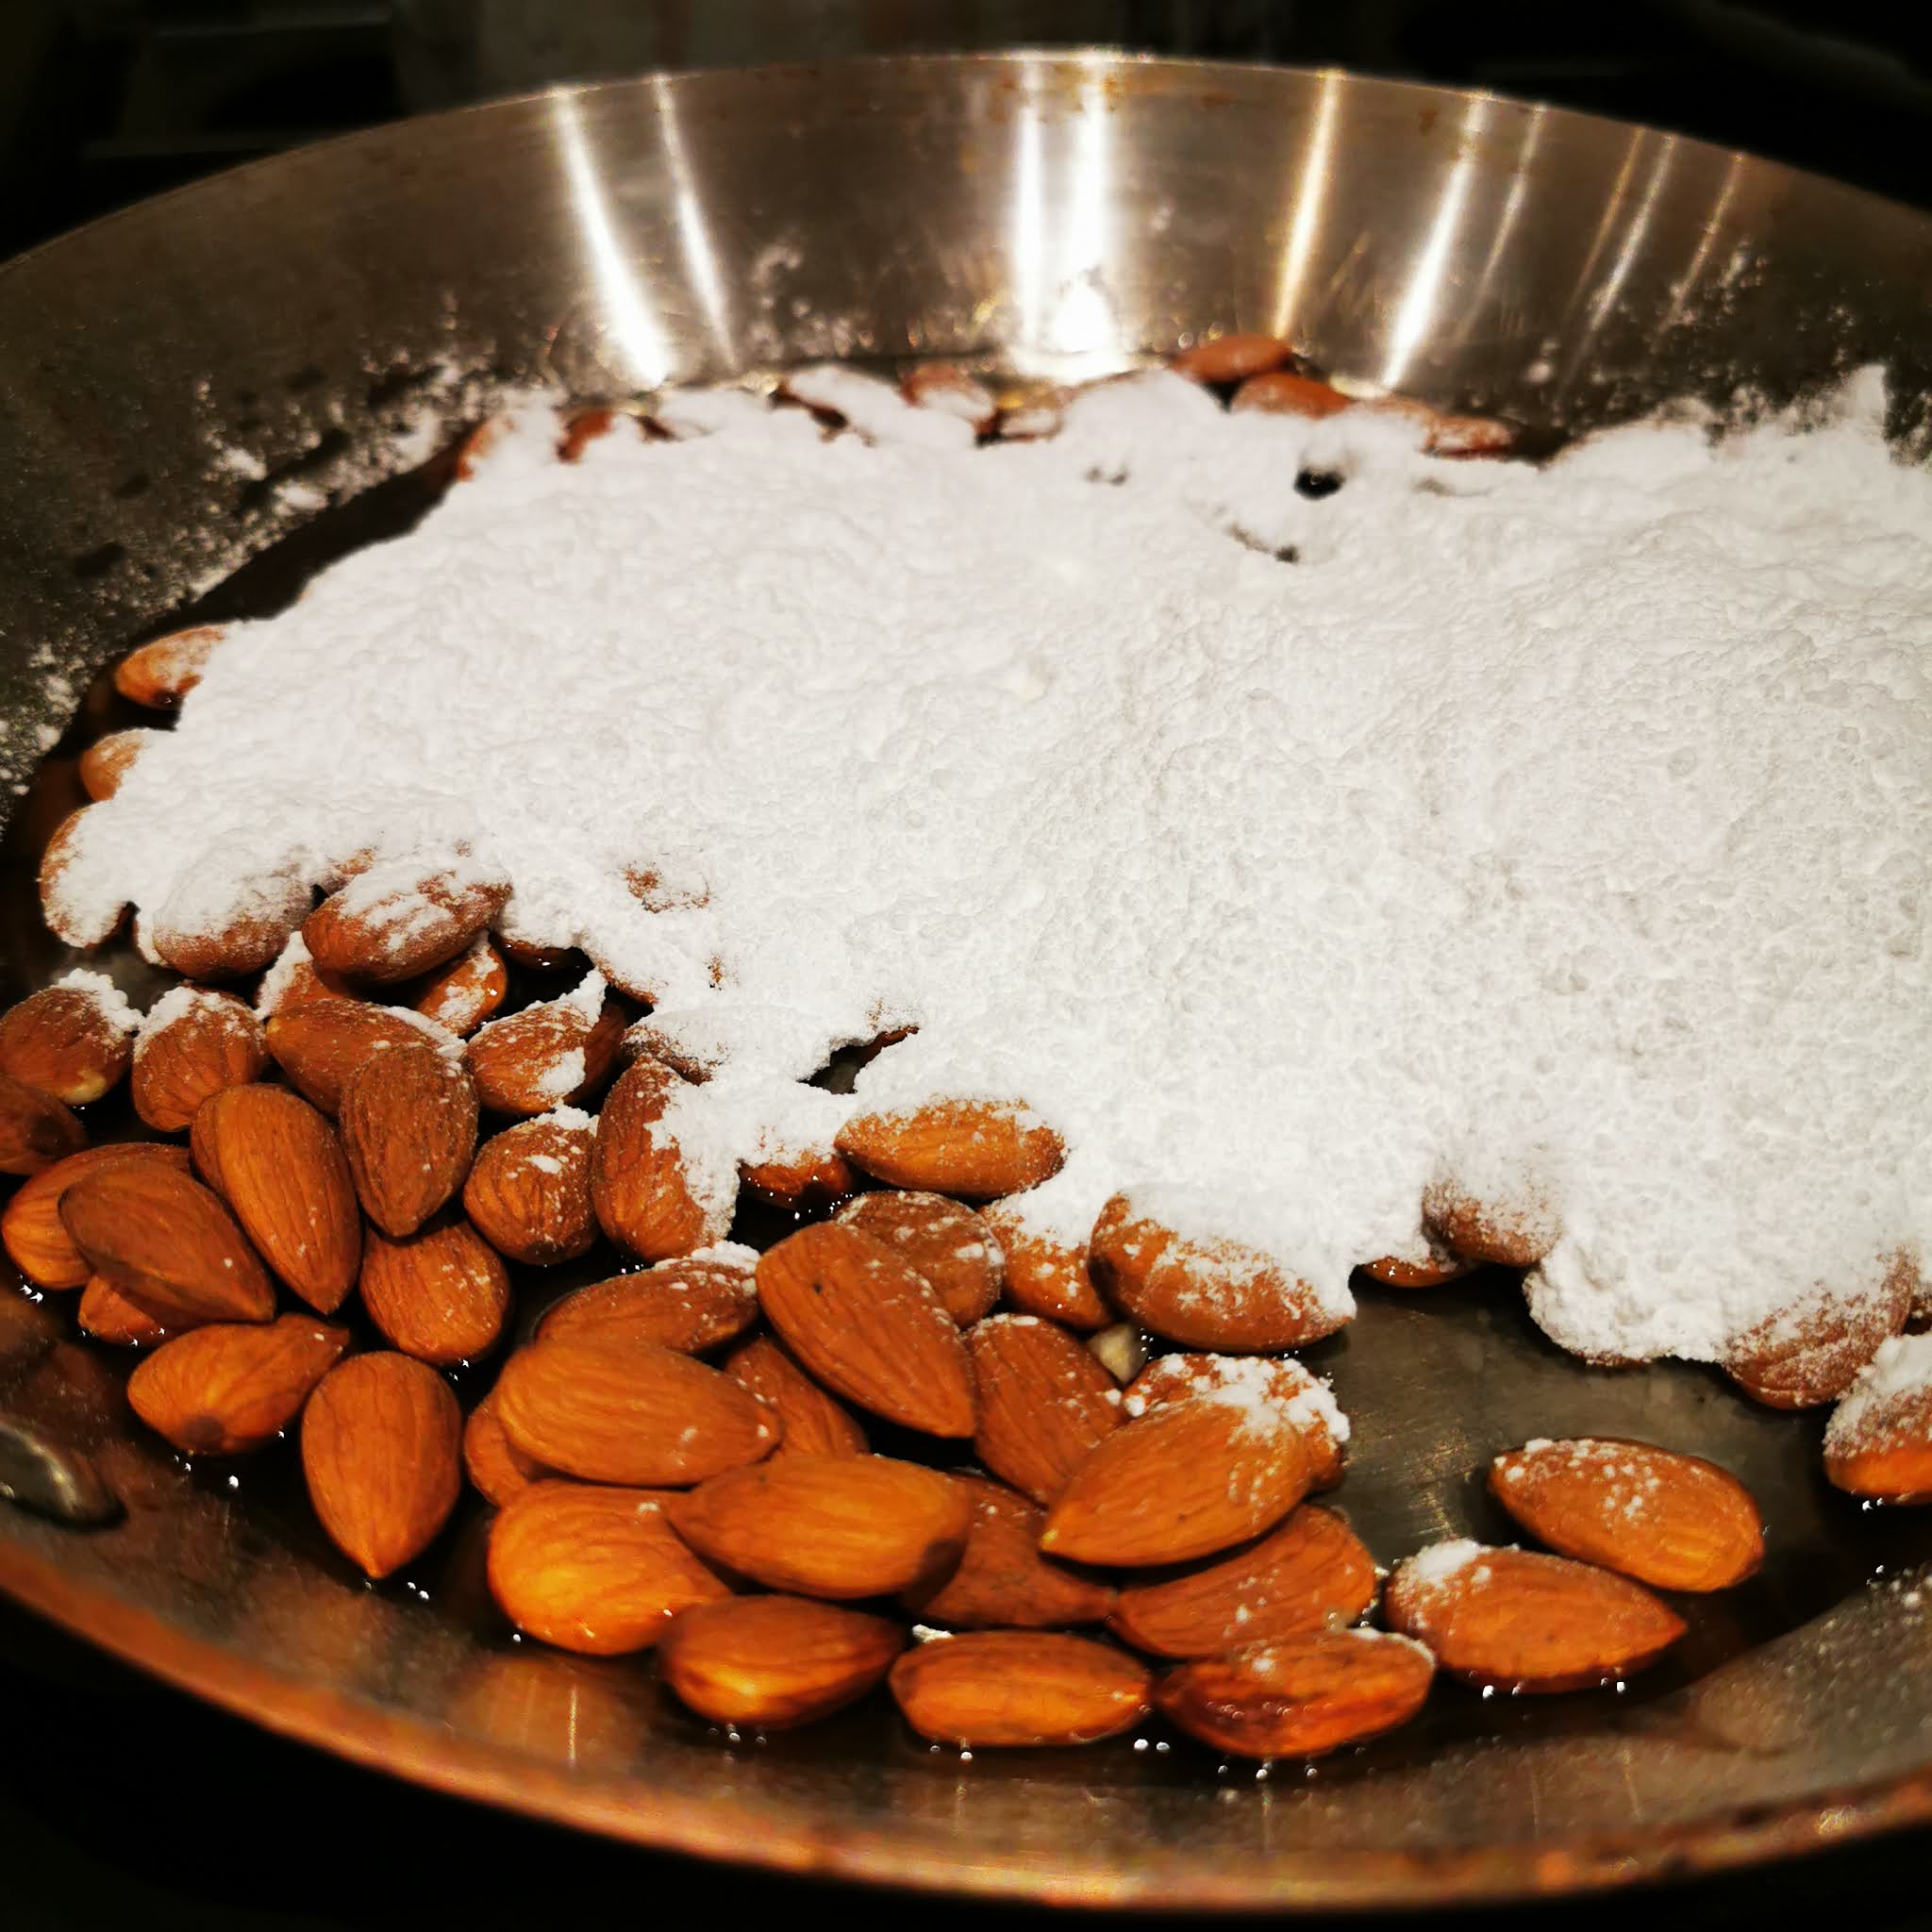
      200g walnuts ~ these could be omitted
      2 tbsp corn starch

        Whisk the egg whites until stiff.
        Add the sugars and continues to whisk till they form a lovely glossy meringue.
        Melt the chocolate over a Bain Marie and allow to cool until it is room temperature but still completely melted, you do not want it beginning to form a solid again.
        Carefully fold the chocolate into the meringue.
        Add the chopped walnuts and corn starch and continue to fold in gently.  You do not want to loose the air or make the meringue change it's consistency, if over mixed it will become a runny mix.
        Put a tablespoon of mixture onto lined baking sheets, leaving a good amount of space between each one as they will spread out quite a bit.  
      ♥  Bake in a preheated oven at 175 degrees Celsius for about 10 minutes.
        As you take them out of the oven they will appear to be very soft, leave them on the baking sheets to cool for several minutes and they will stiffen up a bit.  
        Very carefully transfer them onto a cooling rack to cool completely.  these meringue like cookies are very fragile.

      These cookies melt in the mouth


      These gorgeous mousse like meringue cookies are delicious but do not last very long.  Bake and eat within 3-4 days

      The best way to describe them are  something akin to a chocolate brownie and a meringue.  
      Delicious!

        How are your preparations coming along? 

      Paper craft place names

      Paper craft 
      Scandinavians love to craft with paper at Christmas, the Danes have become particularly known for this but let me assure you the Norwegians have been paper crafting for decades too.

      Last year I shared with you how to make these lovely paper stars, see here I shall be making some miniature ones this year too and back in 2017 I showed  how to cut out paper baubles here as well as a fun take on the age-old Scandinavian tradition of weaving paper hearts to put on the Christmas tree here


      I have always been a sucker for stationery from a  small child, collecting stickers, notebooks and even having a vast collection of paper serviettes, things have not really calmed down and in almost all of our cupboards in our home you will find some form of stationary still unused, waiting to be loved and many waiting to be made into something.  I have a block of design sheets about A4 size that I decided needed using this year and with a little bit of folding became these lovely little Nisse.  I am going to use them as name places.  I've decided that this year has been pants enough and it's time to even dress up our everyday dining experience and have a bit of fun, I could do with some more cheer and joy and small things like this do it for me. 

      You can use fancy paper, wrapping
      paper or plain paper to make these
      Father Christmas place names,
      but the thickness of the paper matters

      You will need:

      2 sheets square paper any size, either different colours or different patterns OR 1 sheet of square paper that has a different colour of patterns on the reverse

      The thickness of the paper is important, too thick and the folding will not work, too thin and the Nisse will not stand up.  Best thickness is that of origami paper to give you an idea.  I first practised on normal A4 (cut to a square) photocopier paper and it worked well


      I took several photos along the way but I cannot compete with the clever video that I found on line. If you are tempted to make these, watch the below video clip, see how simple and quick it is and have a go. Fun for adults and children alike. 


      I also tried making these out of serviettes and although they will not stand up look good on a plate and a little festive.  I used two paper serviettes here to achieve the two pattern look.

      Festive serviette folding


      We are using these for every
      day place name settings 

        We are in the week of Christmas and wherever you are and although this maybe not be the Christmas you had hoped or planned on, I wish with all my heart some cheer and joy your way. 

Snow cookies

We now now into the week of Christmas, today is the fourth Sunday in Advent and the countdown really begins.  Our home has

Snow cookies with a warming spice 

smelt of baking now for a few weeks and unlike other years, we seem to be eating most of the cookie baking.  I have delivered some cookie packages but not as many as I would have liked, hopefully I will be delivering more in the next few days.  How are your Christmas preparations going.  We have decided not to see older members of the family for obvious reason and it will make for a different Christmas.  But we are holding on to being able to in the not so distant future, have a good old big family shindig once we are allowed and it is safe to do so.

Today's cookies are the 6th that I share out of the 7 that I am baking this year.  these are traditionally made with only cocoa powder and the other spices are omitted but as it is the season for warmth, spices have been added today.  Should you wish to omit the spices and travel don't he traditional route, then use 2 tbsp. of cocoa.

Don't hold back on the dusting of
the icing sugar, here more is better
I rolled the dough balls in icing sugar although
it is nicer to roll them in caster sugar

Snøkake ~ 

Spiced Snow Cookies


You will need: 

150g sugar

75g  softened butter

1 egg

300 plain flour

1 1/2 tsp cocoa powder

1 tsp ground cinnamon
1 tsp ground ginger
1 tsp ground cloves
1 tsp ground cardamom
1 tsp baking powder

sugar for rolling the dough into

icing sugar for dusting


Place the Snow balls spaced apart
as they will spread a bit on baking
♥  Mix together the butter and sugar until light and creamy.
♥  Add the egg gradually and continue to mix.
♥  Mix in the spices and the baking powder to form a dough.
♥  Place in cling film and leave in the fridge for a minimum of half an hour.
♥ Pre heat the oven to 175 degrees Celcius and line a couple of baking sheets
♥  Divide the dough into three equal parts.  Then divide each of those balls into eight equal parts, leaving you with 24 pieces of dough.
♥  Roll each piece into a ball and then roll them in a bowl of sugar.
♥  Place on lined baking sheets leaving room between each as they will spread a little.
♥  Dust over each dough ball with a very generous coating of icing sugar.
♥  Bake for 12-14 minutes or until the cookies have begun to crack.
♥  Cool for a few minutes on the baking sheets before transferring onto a wire rack
♥  These cookies can be frozen, although I have not done that, but must be thawed thoroughly before serving.  Otherwise they should last a week to ten days in an air tight container.


Bake until the cookies have just begun to crack

Snø kake ~ Eat and be merry!

  Government announcement yesterday has changed our plans for Christmas, but we will try and keep the Christmas cheer, sending you warmth and good wishes in this difficult time 

Christmas nibbles

The Scandinavians love almonds and use them almost whenever they can in baking over the Christmas period.  We have so
Gløgg and Brente mandler
(burnet caramelised almonds)
many different types of cookies and cakes, that I've lost count.  Children receive marzipan pigs as stocking gifts and one of the biggest sellers for the sweet table is a box of Anton Berg chocolate and marzipan sweets.  This year to accompany out gløgg drinking whilst decorating the tree listening to festive songs we nibbled on brente mandler, directly translated to 'burnt almonds'.  These are so moorish it's dangerous. But they are a quick make and easy to rustle up in a few minutes.  Need some comfort nibbles, these will do very nicely. 


Brente Mandler ~ 
Caramelsied Burnt Almonds

You will need:

250g almonds
125g icing sugar
75ml water

Almonds, water and icing sugar
is all you need to make caramelised almonds


❤️Place all the ingredients in a shallow frying pan and stir until the water has boiled and the icing sugar has melted. 

Stir continuously to avoid
the almonds actually burning

❤️Once the water has absorbed and the icing sugar has dissolved, the almonds will look like they are coated in a white goo.  I couldn't photograph this as this is the stage where you need to stir vigorously.  This is to ensure the almonds do not actually burn.  Keep stirring until the sugar has caramelised. 

Working speedily tip the almonds onto
an oiled baking sheet and separate them

❤️Again working quickly tip the almonds out of the pan and onto  a pre-oiled baking sheet.  Using two forks, one in each hand separate the almonds from each other.  Don't try doing this with your hands! The almonds cool and become hard quite quickly so make sure you separate as fast as you can. 

❤️Place on a dish and serve with drinks, preferably some gløgg. 

Brent mandler ~ Caramelised burnt almonds


A warming gløgg and brente mandler, so very festive


Brente mandler make a lovely gift too


  Do you make edibles to gift at Christmas? 

What are your favourite nibbles for Christmas?

Gløgg toppers

It's the season of gløgg (mulled wine) and pepperkake (Scandinavian spiced biacuits). Both often drunk and eaten together. Normally house visit after house visit by the end kf the winter most Norwegians are ready to call it a day on bith these foodie delights.  It's a bit like putting the decorwaway after Christmas, you loved having them out but its time to have a minimalist feel back in the home. That sais we are still goimg strong in the wintwr season so why am I blabbering on about having too much of a good thing. 

I decided it woukd be lovely to combine the too in a slightly different way and to create a gløgg topper.  Im nit thr fitst to think of this, it is a bit akin to how tapas began, putting thefood as a lid on red wine to combat the flies.  Well we dont have flies as its not hot but its a fun way to present a cookie.

 
Gløgg cookie topper

Glogg cookie toppers

You will need:
310g plain flour
1/2 tsp salt
180g butter, softened
200g sugar
2 eggs
1 tsp vanilla extract

♥  Sift the flour and salt into a large bowl.
♥  In a separate bowl cream the butter and sugar until pale and fluffy.
♥  Add the eggs one at a time, continuing to mix.  
♥  Stir in the vanilla extract.
♥  Add the flour to the mixture and mix until the dough comes together.  It is really important not to over mix as the cookies will be tough.  So stop mixing as soon as the dough comes together.
♥  Divide the dough into two equal parts and chill in the fridge for a minimum of an hour.
♥  Preheat the oven to 200 degrees Celcius and line a couple of baking sheets with greaseproof paper.
♥  Roll out one of the dough balls onto icing floured worktop, into as close as you can get to a rectangle about 5-6  mm thick.  Then cut out long strips about 5 mm wide.  I used a pizza wheel to cut the strips.

Use a pizza cutter for speed and straight(ish) lines


♥  Layout half the strips in a vertical direction with a couple of mm gap between each piece.
♥  Fold over carefully every other strip, so that the strip is folded down over itself when folding be careful not to crack the dough.  See photo for clarification., folder over strips are B. 

Fold over alternate vertical strips
each time you place a horizontal strip

♥  Next, take another strip and lay it horizontally (see photo and the green hand-drawn strip) into the empty space, so that it lays on top of the remaining vertical strips.  Flip back the folded strips so that they now lay over the horizontal strip.
♥  Now fold over the remaining strips, shown as A in the photograph, and lay the next horizontal strip down.  Repeat this process until you have used all your strips.
♥  Very gentle roll over the lattice formed strips to help them adhere to each other, but do not press too hard.
♥  Take the cup or glass that you will use for serving your gløgg in and use it as a cookie-cutter. See photograph.  Please each cut out gløgg topper onto the lined baking sheets.  These should not swell on baking so can be placed fairly closely next to each other.
♥  repeat with the second dough ball or leave in the fridge for another time, will keep for a few days.

Use the cup or glass you are going
to serve your gløin as a cutter


Gently tease the pastry out from the cup
and place on the lined baking sheet

You can place the gløgg toppers quite
closely together on the baking sheet


♥  Bake for about 6-8 minutes or until golden brown.

Bake till golden brown


♥  Cool on the baking sheets, do not remove to a wire rack.
♥  These gløgg toppers should hold in an airtight tie for about a week or could be frozen for about a month, remembering to thaw completely before serving.
Just as you are serving your drinks pop a gløgg topper over the warmed gløgg.
♥  The gløgg toppers should not be over the gløgg glass for too long or they will become soft and soggy!

Skål! as they say in Norway


A festive tray of gløgg, gløgg toppers and Norwegian
Brent mangler ( burnt almond) more on this tomorrow 


Hope you are all feeling the festive cheer 


❤️What are your festive plans this weekend?❤️


Christmas drinks

Winter months need winter warmth and we need to create it in the northern hemisphere whenever and  wherever we can. The Scandinavians are very good at creating warmth where you would think none can be found.  They manage to eek out and to take pleasure in the smallest of moments and it is this that I think helps them combat the dark and the cold, it is a part of what the overly used word hygge is about but only part as this word is so much more.  

Here in the UK, we have mulled wine and we associate it with the run-up to Christmas, in Norway and in the wider Scandinavia it is drunk and enjoyed throughout winter.  The warmth it brings with a mixture of sweet with spices makes it very different from the English mulled wine.  These drinks are not the same, similar but not the same.

Cranberry Gløgg ~ My favourite with or without the vodka or red wine, great for non-drinkers and designated drivers as well as the young ones.  This is such a good all-rounder.

Cranberry gløgg with cranberries and an orange slice


You will need: makes a litre
1l cranberry juice
100g sugar
1 1/2 tsp ground cardamom (if you struggle to source this use 2 tsp of cardamon kernels crushed)
1 1/2 tsp ground ginger
8 cloves
large stick of cinnamon
1/2 tsp chilli flakes
100g cranberries or 80g raisins and a handful of chopped almonds
Vodka or red wine ~ optional

Pour 200ml of the juice into a saucepan with the sugar and spices.
Bring to the boil and simmer for a 3-4 minutes.
Strain the liquid and return to the pan with the remainder of the cranberry juice.
Bring back to simmering point adding in the chilli flakes and cranberries.
If using the vodka or red wine of the vodka or a bottle of the wine and warm back up without boiling.  add in a good splash now.
Serve.


Apple Gløgg ~  My husband finds Norwegian glogg a tad too sweet so he prefers the lesser-known but equally Scandinavian gløgg with an apple base.  


Top with a thin slice of apple, here I used a
cookie cutter to remove the centre of the apple slice

You will need: makes a litre
1l good quality apple juice
4 tbsp honey
2 cinnamon sticks
1 1/2 tsp cardamon kernels, crushed
1/2 tsp whole cloves
2 star anise
orange peel
Brandy, a good splash or two~ optional
very thin slices of apple for decoration

Pour 200ml of the juice into a saucepan with the honey, spices.
Bring to the boil and simmer for a 3-4 minutes.
Take the pan away from the heat and add the rest of the apple juice.  Allow the gløgg to rest awhile, the longer you leave it, the stronger the spice taste will be.  
Strain the glogg and warm the gløgg back up, add the brandy if using but do not boil.
Pour into glasses and add a thin slice of apple.


Here you see my gløgg topped with a gløgg cookie,
more on this tomorrow!


Your gløgg can be topped with any garnish, traditionally Norwegians
add chopped almonds and raisins, but here I have a
slow oven-baked orange slice and a
slice a passion fruit to add a more modern edge


Apple gløgg on the left and Cranberry gløgg on the right


 ♥  What is your favourite Christmas tipple? 


Christmas light

My first married Christmas we decided to hunker down and not spend it with family.  We did not want to begin a tradition of one year at his parents and one year at mine.  
It was a strange yet magical Christmas, 
Salt dough heart ornaments for the Christmas tree

made all the more special because John sat with me to create our own ornaments for our very first Christmas tree together.  It set the tone for all the years that have followed.  

That year, 26 Christmas' ago we made heart-shaped troll deig (salt dough) ornaments and hung them on the tree with red ribbon.  We made them with love and laughter and who knew they would last for more than ten years.  We are now on our third set of red troll deig hearts and every year as we hang them, enough to fill the tree, my heart leaps a little in joy.


One of the many things that I love about the winter and the lead up to Christmas is all the lights, so many cultures have the same idea, light at this time of year is so important.  Adding that much-needed cheer and lightness to otherwise dark difficult and daunting months. 

Using troll deig and inspiration from a tealight holder that we have had for many years, I decided to try my hand at 3D troll deig and see if I could recreate my own tea light cone tree.

The tealight cone tree that gave me the inspiration


You can clearly see the two I made but in the dim
light of December days, I think I can get away with it

Troll deig (salt dough)
You will need:
250g plain flour 
125g salt 
100-150ml water 
template or design your own 
cardstock 
pen 
ruler 
knife
small cutters or a straw
sellotape
white acrylic paint


Template for cones


For the template:
♥  Cut out the template for cones onto heavy-duty card stock, the large cone needs sides of 15cm and the small cone needs sides of 9cm.
For the dough:
♥  Mix the flour and salt thoroughly.
♥  Add the water slowly until the mixture begins to form a dough and you can make it into a ball.  You do not want the dough to be too dry nor too wet, unhelpful of me I know, but it should be pliable without cracking and not sticky.   

The salt dough needs to be pliable without
being sticky or cracking too much

♥  Divide the ball into two pieces and then on a floured surface roll out one piece to about a thickness
of 3-4 mm.
♥  Place the template on the dough and cut out, I used a ruler to create straight edges and a sharp knife.

Use the template to cut our the cone shape


♥  Carefully cut out shapes for the light to be able to shine through, I used a very small cake decorating star cutter, but you can use a straw or cut out shapes freehand.  Remember to not cut out too many as that will reduce the stability of the 3D shape.
♥  Where the area is for the fold/glue line score some little marks on the salt dough to aid adhesion when forming into a 3D shape.
♥  Shape the template into a 3D form and secure on the fold glue line with sellotape.
♥  Next carefully repeat the template process with the salt dough, forming it into a 3D shape and carefully joining the seams together with a little bit of water and some gentle pressure.  The salt dough cone is fragile at this stage, so carefully place it over the 3D template and place on a baking sheet.
♥  Bake in the oven on the lowest setting for about 3 hours or until solid.

Bake the salt dough on the lowest temperature
of your oven for about 3 hours

♥  Once completely cooled, paint with acrylic paint, remember to NOT paint the inside!
♥  I have been using a real tea light inside mine but it would perhaps be safer using an electrical battery operated tea light instead.  I never leave mine unattended.

♥  With any spare salt dough, you can make ornaments or anything you like.  I made some star and heart cocktail stick toppers, they can be used for food or for jazzing up your house plants for Christmas!


Add salt dough decorations to your house plants


Homemade Fimo Nisse, salt dough
tea light Christmas cone trees and
plant decorations made from salt dough too

Can you spot the shop-bought cone and
my two homemade cones in the dining room?

A trio of Christmas tea light tree cones

  Happy hump day to you all, 

only 9 days till Christmas day!